The Bank Reconciliation enables transactions that have been posted to Tourplan G.L. bank accounts to be reconciled against physical bank statements.
The initialisation effectively allows the tagging of those historic transactions which are not going to appear on any future bank statement.
The Bank Reconciliation set up requires:
- Details of physical bank account(s) to be entered into Tourplan NX.
- Those physical bank accounts to be linked to Tourplan NX G.L. bank accounts.
- The starting bank statement page number and starting page balance to be entered.
These set up steps are entered in the Bank Reconciliation application.
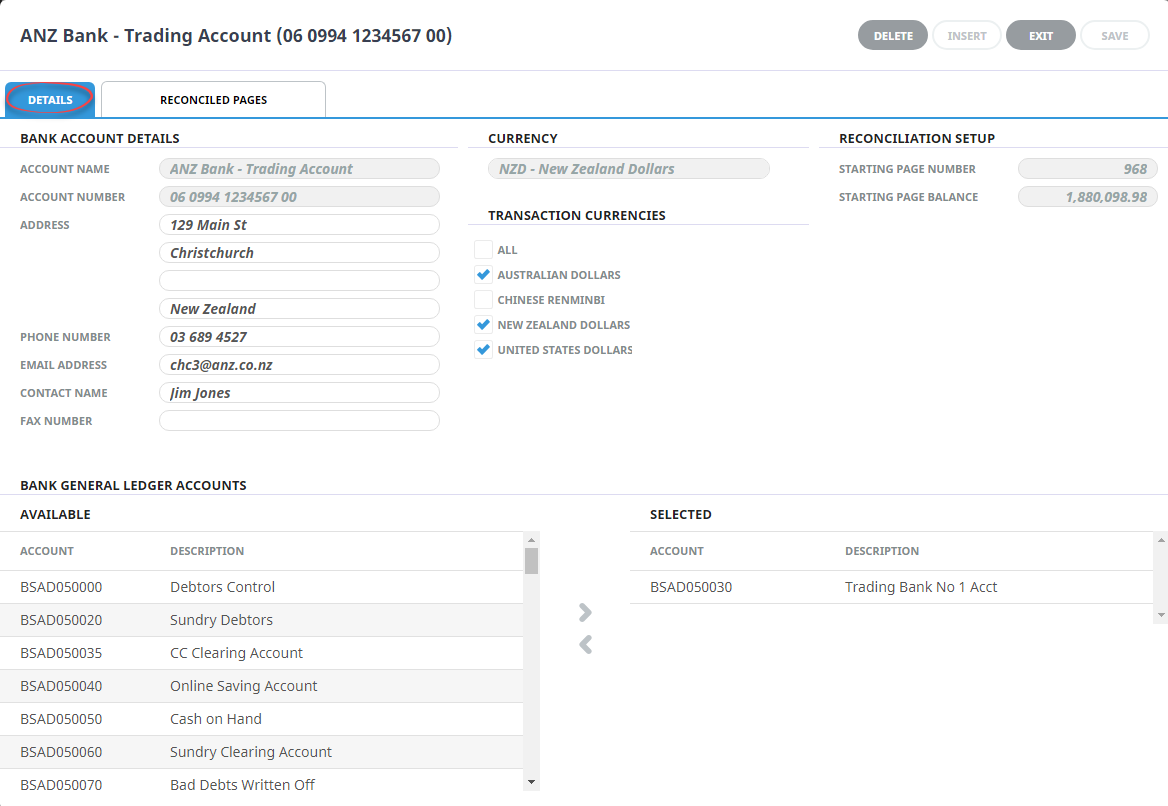
Example shows a Completed Bank Reconciliation - Bank Account Details Tab
Bank Reconciliation Setup
-
From the Home menu, select
 Financials > Accounting > Bank Reconciliation.
- Click the Home Menu to expand it:

- Click the Financials menu option to expand it:

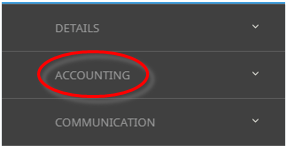
- Click Accounting to go to the Accounting menu to expand it:

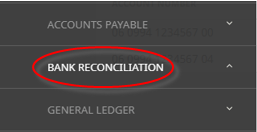
- Click Bank Reconciliation to go to the Bank Reconciliation screen:

- Click the Home Menu to expand it:
-
The Bank Reconciliation screen will open. ClickInsert Account.

-
The Bank Account Details screen will display with theDetails tab open. Enter Bank Account Details including Account Name, Account Number and Contact Information.
-
Select aCurrency and enter a Starting Page Number and Page Balance.
-
Attach a General Ledger account to the Bank Account by highlighting the Account in theAvailable column and using the blue arrow
 to move the Account to the Selected column.
-
ClickSave to keep the changes.

-
ClickExit to discard any changes.


About the Bank Account Details Fields
When a new or additional physical bank account is created, information is displayed across two tabs; the Details tab and the Reconciled Pages tab. This screenshot
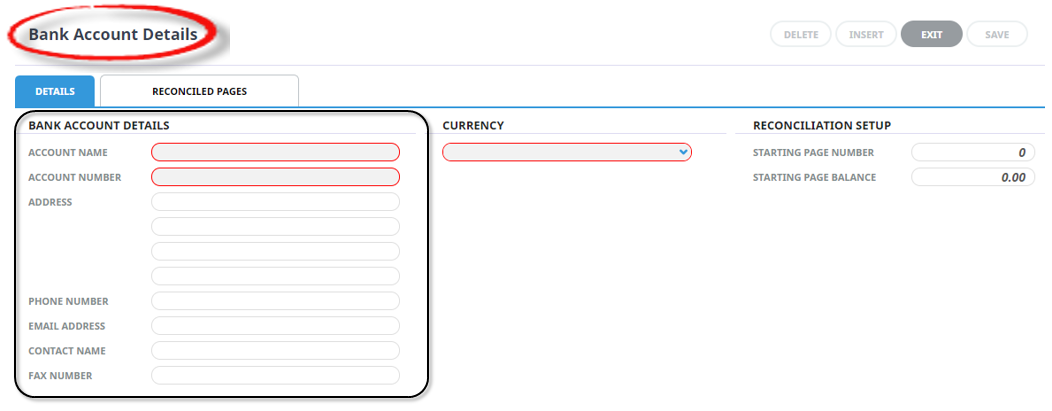
The Details Tab is in 4 distinct sections.
- Bank Account Details Section
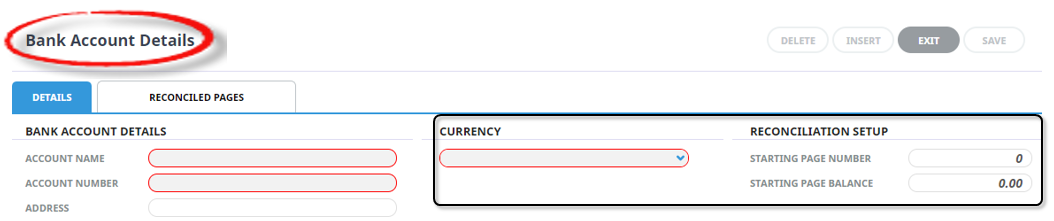
- Currency Section
- Reconciliation Setup Section
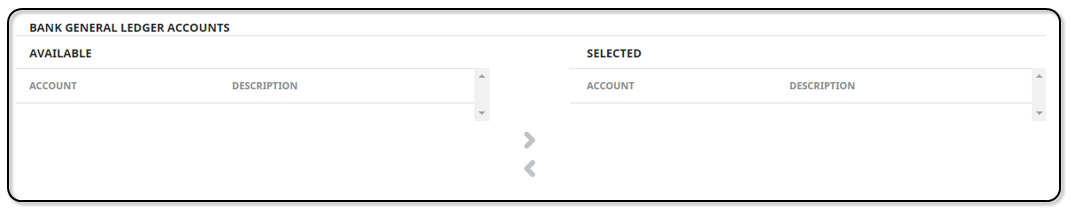
- Bank General Ledger Accounts Section
![]()
About Details Tab
Bank Account Details Section
Account Name (Chr, 60 Required)
The bank account name as printed on the bank statement. This field can be used to select the bank account during the reconciliation or banking processes.
Account Number (Chr, 60 Required)
The number of the physical bank account. This field can be used to select the bank account during the reconciliation or banking processes.
Address and Contact Details
These fields are optional and are for information only.
Currency Section
Currency (Drop-down, Required)
Select the currency for this bank account.
Transaction Currencies (Multi Select List Box)
The transaction currencies that can be posted to this bank account.
Reconciliation Setup Section
Starting Page Number (Chr, 10)
NOTE: Enter the number prior to the number of the first bank statement to be reconciled. This will be used as the number of the initialisation .
The initialisation will hold all of the transactions which either make up or contribute to the opening balance of the first statement to be reconciled.
Starting Balance (Numeric 12,4)
Enter the amount that has been determined (in consultation with Tourplan Support) as being the balance that the Bank Reconciliation is going to commence with.
Bank General Ledger Accounts Section
This section is used to attach Tourplan NX G.L. accounts that have transactions that will appear on Bank Statements for the physical bank account.
To attach a G.L. account to the physical bank account, highlight the account in the Available column and click the ![]() button. To remove a G.L. account from the Selected list, highlight the account and click the
button. To remove a G.L. account from the Selected list, highlight the account and click the ![]() button.
button.